Wish List

Friday, April 26, 2024

Kites and rainbows...

I try to make a variety of cards for lots of different occasions when making them for the thrift store. Here are two that I made recently:

I have a small set of kite dies that I don't use much, but I thought they'd be fun to use for a child's birthday card. The sentiment die is one I've had for a long time. I cut two of them and stacked them for some added dimension.


I remember making my own kites out of balsa wood strips, newspaper and some string when I was a kid. I'm not sure I ever got them to fly very well, but I had fun trying! 

I don't believe we ever added the tails with the pretty bows. Maybe that's why they didn't fly properly.


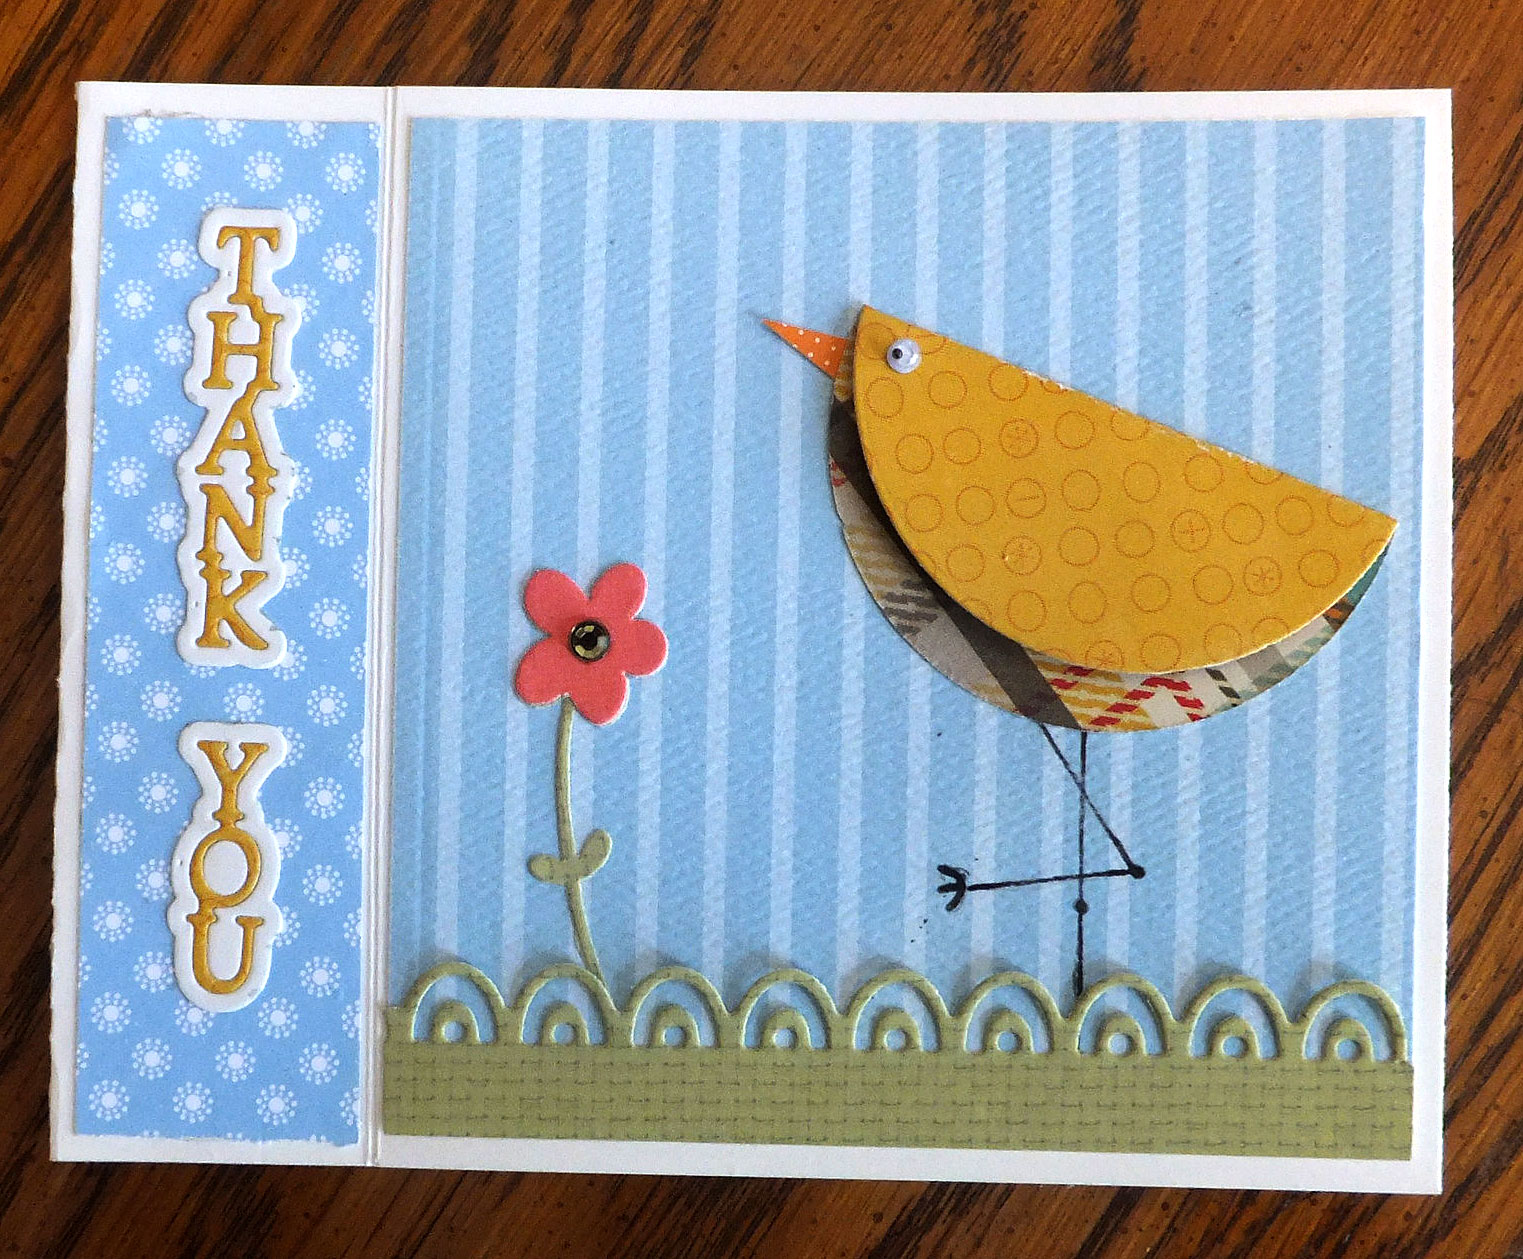
On the inside of this card, I used one of my go-to stamps for kids' birthday cards.


I also have a rainbow die set that I hadn't used for ages. I cut out the rainbow five times from the five colors of cardstock you see in the photo above. That way, I ended up with five rainbows, so I could make more cards like this one. Obviously, the rainbow colors would be in a different order on each card, but I think that's totally ok. These are greeting cards, after all, and not meteorological illustrations, lol.


After using a blending brush to add a little blue ink to the background panel, I glued the rainbow directly to it.

The clouds and the sentiment were popped up on dimensionals.

I created the sentiment with my computer and used seven different colors on the word "rainbow."


I added a simple, stamped sentiment on the inside.

*****

Yesterday afternoon, we went to a matinee showing of the movie "Cabrini." It was about the life and work of Mother Frances Xavier Cabrini after she traveled to the U.S. from Italy in 1889. She was an incredible woman who did so much good in the world, and the movie is excellent. If you have a chance to see it, I highly recommend it. You can learn more about it and see an official trailer at angel.com/sharecabrini.

Thanks so much for stopping by, and remember to laugh--a little or a lot--every day.

Cheryl

Wednesday, April 24, 2024

One image, two ways...


This is another AI image that I downloaded from one of the sites I linked to in my previous post. I love pansies, and couldn't resist trying to make a couple of cards with it.

For this first card, I cut the image three times with three different square dies. After I had cut out the three squaares, I matted them with some purple cardstock. I also die-cut the sentiment three times, stacking it for some extra dimension.


I popped up each of the squares with some thinner foam tape, so as not to give it too much height. I just had to make sure I lined the squares up so that the image was accurately revealed.


Once again, I combined a couple of sentiment stamps for my greeting on the inside of this card. 


I decided to make this second card a little simpler. I cut the image out with a shaped die, inked the edges and popped it up on foam tape. The sentiment was stamped, cut out with a die, and also popped up with foam tape.


For the white panel backgrounds on both cards, I used a pinpoint background die. I really love pinpoint dies; they add a subtle design element, as well as some nice texture.


I stamped a simple sentiment on the inside of this card, using the same purple ink that I had used for the sentiment on the front of the card.

I really appreciate having access to AI images to make some quick, but pretty, cards. They help me to maintain my current pace of making about 20 cards per week.

Thanks so much for topping by, and remember to laugh--a little or a lot--every day.

Cheryl


Monday, April 22, 2024

Using AI images on cards...

 Every once in a while, I use AI images in my cardmaking. Here are a few I have used recently:

This image was not only pretty, with nice soft colors, but it covered most of the card front.


I only added the heat-embossed and matted sentiment, popping it up with dimensionals, and a few gold pearls.


I used a stitched die with fancy corners to cut out this image. I loved the peonies on this one.


I also added a strip of cardstock and then popped up my sentiment oval on one side of it.


For these cards, I cut the image panel at a diagonal, and used each piece on a separate card. I added the die-cut lace to give a finished look to the edge. 

This image is such a pretty, pensive one. That's why I chose to use the "thinking of you" sentiment. 


I added a few clear dew drops here and there. I thought they were a nice addition to the scene.


This image seemed like it belonged on an anniversary card, so that is what I made with it.

I cut a couple of the sentiments and stacked them for dimension, and then I added a few pink gems for sparkle.

I get some of the AI images I use from the Free Printables Facebook Site and also from Free Printables and Art Sharing Facebook Site.

Occasionally, I create specific images myself using Bing.com/Create.


Thanks so much for stopping by, and remember to laugh--a little or a lot--every day.

Cheryl

Friday, April 19, 2024

I'm thankful for my scraps...


I recently watched Lori Heiling's video here, and I just had to try the cards she made. If you want to watch only the cardmaking part of the video, start at the 6:40 mark.

I pulled out a couple of card bases that I had on hand and a selection of DSP scraps, which I cut to 1 1/2" x 4 1/2". Then I cut each strip at a diagonal as shown in Lori's video. 

Finally, I cut two 5 1/2" x 4 1/4" rectangles out of plain printer paper. I planned to adhere my finished panels directly to cardstock with double-sided tape (no dimensionals), so I didn't need them to be particularly strong.

When I was done gluing down my strips, I used a different decorative rectangle die to cut out each panel. Then I adhered each of these panels to a white mat before gluing those to my card bases.

I tried cutting my "thanks" out of a coordinating color with a white mat, but I didn't like it. I think the black really pops against the colorful background. This was also glued directly to the front panel. I wanted to keep these cards nice and flat for easy mailing.


On the inside of each card, I stamped a sentiment and three little red hearts.

These cards were so much fun to make. I definitely need to make a few more panels to have on hand for when I need a quick card. It's a fantastic way to use up those scraps!


My tulips have begun to bloom, and I'm really looking forward to having a little bouquet that I can bring into the house. I am watching them closely, as the bazillions of rabbits in our neighborhood are eyeing them, too. They love to eat the flower heads off!

Thanks so much for stopping by, and remember to laugh--a little or a lot--every day.

Cheryl

Wednesday, April 17, 2024

Another Spirelli card...


To create this card, I first added a panel of DSP to the card base. Then I die-cut a scalloped panel, which was popped up with dimensionals.

The sweet little dress started out as a scalloped circle. I cut part of the circle away on each side to form the body of the dress. 


Next, I added the metallic teal-colored thread in the manner you see in the photo, taping it to the back of the dress to secure it. 

I had some narrow teal ribbon with silver edging that worked perfectly for the bow at the waist and the straps.


On the inside, I stamped two sentiments. I thought they went well together. I've been doing more of this lately. I think it can personalize the card a bit more if I can find the right combination of sentiments.

*****

I am happy to report that I made it through my four-day dog-sitting stint. Along with my daighter's four dogs, there was also a foster dog that I cared for. He was a nice little pup, but still a pup who demanded quite a bit of attention. I was pleased, when on Sunday he was adopted by a family that had been interested in him and had been approved by the rescue agency.

Thanks so much for stopping by, and remember to laugh--a little or a lot--every day.

Cheryl 

Monday, April 15, 2024

Chirpy-doodle card...

Back in March, I was inspired by Vicki of Heartwarmers from Vicki to make a chirpy-doodle card, but it took me a few weeks to actually get it done! There are quite a number of videos on YouTube explaining how to make the chirpy-doodle bird, if you just search for "chirpy-doodle card."

I used the bookbinder layout for my card and adhered my vertical sentiment to the "binding."


Looking at my bird in the photos, I realize I did not add any tail feathers using a little heart shape. Oh well. This one has already sold at the thrift shop, so I'll do that next time.

The "grass" was die-cut using a die from the Dollar Store, and the flower was cut with one of my oldest Cuttlebug dies.


I added a smaller bird--again, no tail feathers--on the inside, along with a stamped sentiment.

I put the sentiment at the top to leave plenty of room for a personal note. I think we all tend to write more in thank you cards than in other types of cards.

I am still caring for my daughter's dogs until tomorrow.. Luckily, they live close enough to us where I can sneak home after the dogs are fed and write a blog post. lol.

Thanks so much for stopping by, and remember to laugh--a little or a lot--every day.

Cheryl

Friday, April 12, 2024

U Rock...

I made a couple of cards that I thought would work for a teenager who likes music or maybe plays a guitar. Of course, these cards could also work for an adult.

I had a small piece of this guitar-patterned cardstock left in my stash, and I wanted to use it. It is years old, possibly as many as eight!

I cut out the letters three times and stacked them for dimension. Big letters like this can be difficult to line up exactly, but my 6" T-square helped me line them up perfectly.


I stamped a sentiment and a few notes on the inside.


Since I had run out of guitar paper, I turned to Bing/Create to use AI to give me another guitar-patterned background.

This time, I made my card as a portrait layout, which meant there wasn't room for the exclamation point, which I thought was ok.


Once again, I stacked the letters for more dimension, and this time I did a little inking around the edges, as well.


The inside was similar to the first card with a stamped sentiment and a few stamped notes.

I am staying at my daughter's this weekend so I can take care of their four dogs while they are out of town. If only the pups would sleep in--but they are used to getting up at the crack of dawn, so I guess I will, too. lol

Thanks so much for stopping by, and remember to laugh--a little or a lot--every day.

Cheryl